


A professional skin treatments checklist is a structured evaluation tool that guides you through clinic selection, pre-treatment preparation, procedure choice, and post-care protocols to achieve safe, effective results. Florida’s climate adds specific pressure to this process. Humidity, UV intensity, and heat accelerate skin concerns like hyperpigmentation, dehydration, and barrier breakdown. Without a clear checklist, clients often arrive at appointments underprepared, choose the wrong procedures for their skin type, or skip aftercare steps that determine long-term outcomes. This guide covers every item on that checklist, from vetting your esthetician to coordinating your home routine around clinical procedures.
1. Professional skin treatments checklist: clinic and practitioner criteria
Selecting the right clinic is the first and most consequential item on any professional skincare guide. A reputable clinic is transparent about who performs each procedure. Unclear provider roles are a direct red flag, since clinics often separate consultation staff from treatment providers without disclosing this to clients. You should know the name, license type, and training background of the person touching your skin before you book.
Use this comparison to evaluate clinics before committing:
| Criteria | Green flag | Red flag |
|---|---|---|
| Provider credentials | Licensed esthetician or dermatologist on staff | Unlicensed staff performing clinical procedures |
| Consent process | Written consent with risks, downtime, and aftercare | Verbal-only or no consent process |
| Equipment transparency | Device brands disclosed on request | Vague answers about technology used |
| Patch testing | Offered before chemical or laser treatments | Skipped entirely |
| Before-and-after photos | Verified, consistent, skin-type-specific | Stock images or heavily filtered results |
Informed consent must include a detailed treatment explanation, risks, benefits, alternatives, downtime, and aftercare instructions. This is not a formality. It is the mechanism that sets realistic expectations and confirms the clinic operates at a clinical standard. Clinics that rush or skip this step are not equipped to handle complications.

Patch testing matters most for chemical peels, laser therapies, and enzyme treatments. Skin sensitivity varies significantly by individual, and a 24-to-48-hour patch test before a full treatment prevents adverse reactions that could set your skin back weeks.
2. How to prepare your skin before professional treatments
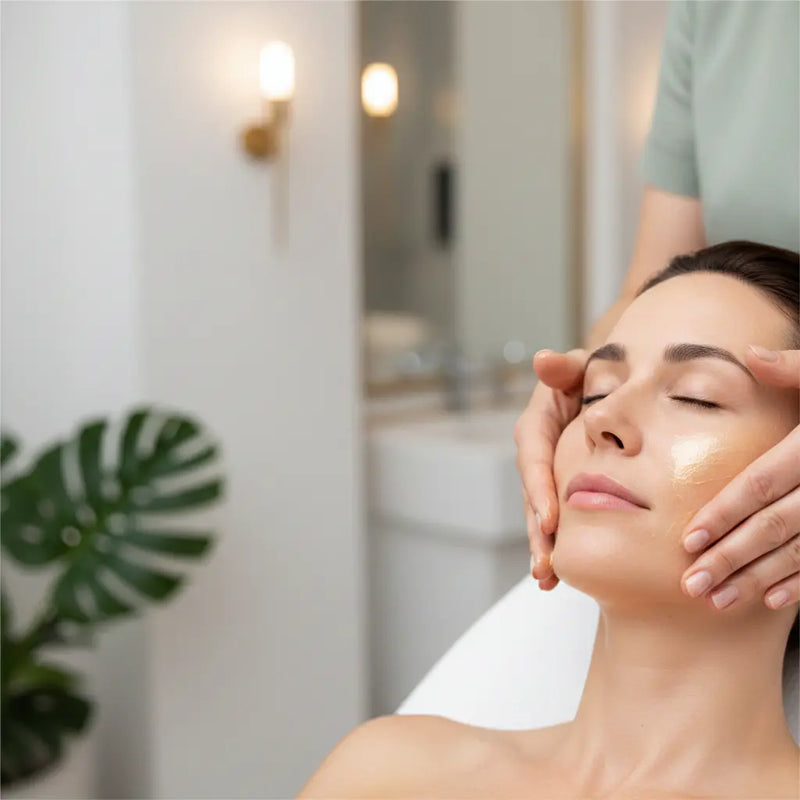
Preparation directly determines how well your skin responds to any clinical procedure. The steps below apply to most facial treatments, from HydraFacials to microneedling.
- Hydrate consistently. Drinking at least 64 ounces of water daily before your appointment improves skin pliability and makes extractions significantly less painful. Well-hydrated skin also absorbs serums and active ingredients more efficiently during treatment.
- Pause active ingredients. Pausing retinoids, Vitamin C, and exfoliating acids 48 hours before your appointment reduces post-treatment sensitivity by approximately 40%. These ingredients thin the skin barrier temporarily, which increases the risk of irritation when combined with clinical-grade procedures.
- Document your home-care products. Bringing photos or physical products of your current skincare items helps your provider identify ingredient conflicts before treatment begins. This is especially relevant if you use prescription topicals, benzoyl peroxide, or AHA-based products daily.
- Time your appointment to your skin cycle. Scheduling treatments every 4 to 6 weeks aligns with the skin’s natural regeneration cycle, which optimizes how well the skin rebuilds after clinical intervention.
- Adjust for season. Florida summers mean higher UV exposure and sweat production. Avoid booking aggressive peels or laser sessions in peak summer months unless your provider has a specific sun-exposure protocol in place.
Pro Tip: Take a photo of your bathroom shelf before every appointment. Your provider can scan it in under a minute and flag anything that might conflict with the planned treatment.
3. Skin treatment options: choosing the right procedure
The esthetician treatment list at most clinical-grade facilities includes several core procedures. Each targets different concerns at different intensity levels.
- Chemical peels use glycolic, lactic, salicylic, or TCA acids to resurface the skin. They address acne scarring, uneven texture, and dullness. Peel depth ranges from superficial to deep, and the right choice depends on Fitzpatrick skin type and downtime tolerance.
- Microneedling creates controlled micro-injuries to stimulate collagen production. It is effective for fine lines, enlarged pores, and mild scarring. Most clients need three to six sessions spaced four weeks apart for visible results.
- Laser therapies target pigmentation, vascular lesions, and skin laxity. Fractional lasers like Fraxel work on resurfacing, while IPL addresses sun damage and redness. These require the most thorough pre-treatment evaluation.
- HydraFacials combine cleansing, exfoliation, extraction, and serum infusion in one session. They suit all skin types and work well as a maintenance treatment between more intensive procedures.
- LED light therapy uses specific wavelengths to address inflammation, acne bacteria, and collagen stimulation. Advanced LED panels produce mitochondrial cellular repair that manual methods alone cannot achieve. Luminaskinsanctuary uses medical-grade LED technology as part of its core treatment menu.
For clients managing hyperpigmentation, procedure selection requires extra care. Skin priming with lightening agents before laser or peel procedures minimizes the risk of post-inflammatory hyperpigmentation, particularly for individuals with deeper skin tones. This priming phase typically runs four to six weeks before the main procedure.
Treatment intensity also falls into two categories. Maintenance treatments like HydraFacials and LED sessions require no downtime and can be scheduled monthly. Upgrade procedures like deep peels, microneedling, or fractional laser require recovery time and should be spaced further apart based on individual skin response.
4. Coordinating professional treatments with your home-care routine
Professional treatments act as force multipliers to your home-care routine. They amplify results but do not replace daily care. A coordinated system built around cleanser, treatment serum, moisturizer, and SPF produces cumulative benefits that neither approach achieves alone.
The sequencing of your home-care products matters most in the days immediately before and after a clinical session. In the 48 hours before treatment, strip your routine back to a gentle cleanser, a fragrance-free moisturizer, and broad-spectrum SPF. This reduces barrier stress and gives the clinical treatment a clean surface to work on.
After treatment, reintroduce actives gradually. Start with your moisturizer and SPF for the first three days, then add a gentle antioxidant serum. Retinoids and exfoliants return last, typically after seven to ten days depending on treatment intensity.
Seasonal adjustments matter in Florida specifically. Summer humidity can make heavy moisturizers counterproductive, while air-conditioned environments in winter strip moisture faster than most people expect. Luminaskinsanctuary’s consultation process accounts for these environmental factors when building a coordinated home-care plan.
Pro Tip: Keep a simple skin journal for the week after each treatment. Note any tightness, breakouts, or unusual sensitivity. This data helps your provider fine-tune the next session and adjust your home-care products accordingly.
Synergistic combinations that consistently produce results include microneedling paired with a peptide serum at home, LED therapy combined with a niacinamide-based moisturizer, and chemical peels followed by a ceramide-rich barrier repair cream. The LED light therapy devices available for home use can extend the benefits of in-clinic sessions between appointments.
5. Post-treatment care essentials
Post-treatment care is where most clients lose ground. The skin is in an active repair state after any clinical procedure, and the wrong products or behaviors in the first 48 hours can undo the treatment’s benefits.
- Avoid direct sun exposure for at least 48 hours after any treatment. Florida’s UV index makes this non-negotiable. Broad-spectrum SPF 30+ is the most critical step in post-treatment care and daily home routines. UV exposure after a peel or laser session accelerates pigmentation and delays healing.
- Skip heavy sweating. Exercise, saunas, and steam rooms raise skin temperature and increase the risk of irritation and breakouts in the 48 hours post-treatment.
- Use barrier-supporting products. Ceramide moisturizers, hyaluronic acid serums, and gentle, fragrance-free cleansers protect the skin during the repair phase. Avoid actives, physical scrubs, and anything with alcohol.
- Report adverse reactions promptly. Mild redness and sensitivity are expected. Persistent swelling, blistering, or unusual discoloration after 72 hours requires contact with your provider. Early reporting prevents minor reactions from becoming lasting damage.
- Schedule your next session strategically. Individual skin reaction feedback after each treatment guides the timing and intensity of the next session. Do not rebook on a fixed calendar schedule without checking in with your provider first.
Key takeaways
A professional skin treatments checklist works because it combines clinic vetting, skin preparation, procedure matching, and post-care into one structured system that prevents gaps and maximizes results.
| Point | Details |
|---|---|
| Vet the clinic first | Verify provider credentials, consent processes, and patch testing before booking any procedure. |
| Prepare your skin 48 hours out | Pause retinoids, Vitamin C, and exfoliants two days before treatment to reduce sensitivity by approximately 40%. |
| Match treatment to skin concern | Choose procedure intensity based on skin type, Fitzpatrick scale, and downtime availability. |
| Coordinate home care around sessions | Strip your routine before treatment and reintroduce actives gradually over seven to ten days after. |
| Protect skin post-treatment | Apply broad-spectrum SPF 30+ daily and avoid sun and sweat for 48 hours after any clinical procedure. |
What I’ve learned from clients who skip the checklist
Most clients who come to me frustrated with their results share one common pattern. They booked treatments based on what they saw on social media, skipped the preparation steps, and used their usual active-heavy routine the night before. The treatment underperformed, and they blamed the procedure instead of the process.
The checklist is not bureaucracy. It is the difference between a treatment that delivers and one that disappoints. I have seen clients with persistent hyperpigmentation finally see results after we added a proper priming phase before their peel series. I have seen clients with sensitive skin avoid weeks of post-treatment redness simply by pausing their retinoid two days early.
Generic protocols fail because skin is not generic. Florida skin in August is not the same as Florida skin in January. A client who works outdoors needs a different pre-treatment plan than someone in an office. The checklist forces that individualization to happen before the appointment, not during it.
My strongest advice: treat the checklist as a living document. Update it after every session based on how your skin responded. Over time, it becomes the most accurate record of what your skin needs, and no provider can give you better guidance than that.
— David
Explore personalized skin treatments at Luminaskinsanctuary
Luminaskinsanctuary applies every principle in this checklist to its clinical practice in Babcock Ranch, Florida. Each client begins with a detailed skin analysis and consultation before any procedure is recommended. Treatments are selected based on skin type, current concerns, environmental exposure, and home-care compatibility.
From clinical-grade facial treatments designed for Florida’s specific climate challenges to the Express Hydration and Polish Facial for low-downtime maintenance, Luminaskinsanctuary builds treatment plans that work with your skin rather than against it. The team’s approach is direct, results-focused, and built around the same structured evaluation process this checklist outlines.
FAQ
What is a professional skin treatments checklist?
A professional skin treatments checklist is a structured guide covering clinic vetting, pre-treatment preparation, procedure selection, and post-care steps. It helps clients approach clinical skin care systematically to improve safety and results.
How far in advance should I prepare for a professional facial?
Preparation starts at least 48 hours before your appointment. Pause retinoids, Vitamin C, and exfoliating acids, increase water intake, and document your current home-care products for your provider to review.
Which skin treatments work best for sun damage in Florida?
IPL, chemical peels, and LED light therapy are the most commonly used procedures for sun damage and hyperpigmentation. Skin priming with lightening agents before laser or peel treatments reduces the risk of post-inflammatory hyperpigmentation, particularly for darker skin tones.
How often should professional skin treatments be scheduled?
Most maintenance treatments like HydraFacials and LED sessions are scheduled every four to six weeks, aligning with the skin’s natural regeneration cycle. More intensive procedures like microneedling or deep peels require longer intervals based on individual skin recovery.
What should I avoid after a professional skin treatment?
Avoid direct sun exposure, heavy sweating, and active skincare ingredients for at least 48 hours post-treatment. Apply broad-spectrum SPF 30+ daily and use only gentle, fragrance-free products during the initial healing phase.


